Tuesday, July 19, 2005

Kiki gets a hair cut


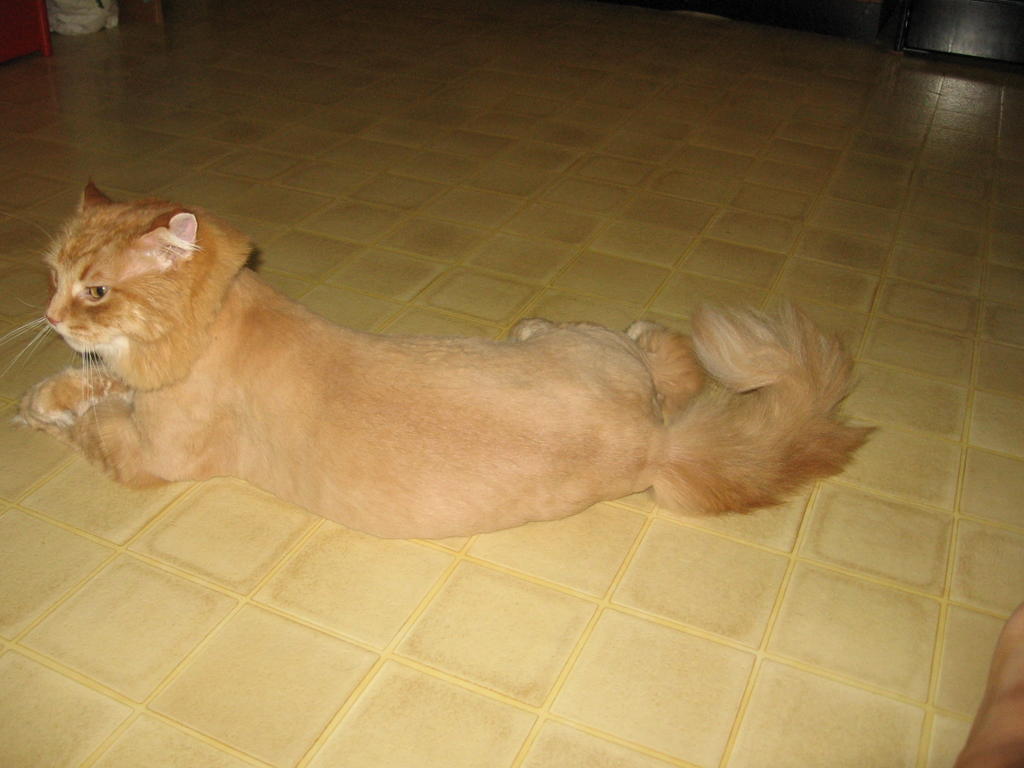
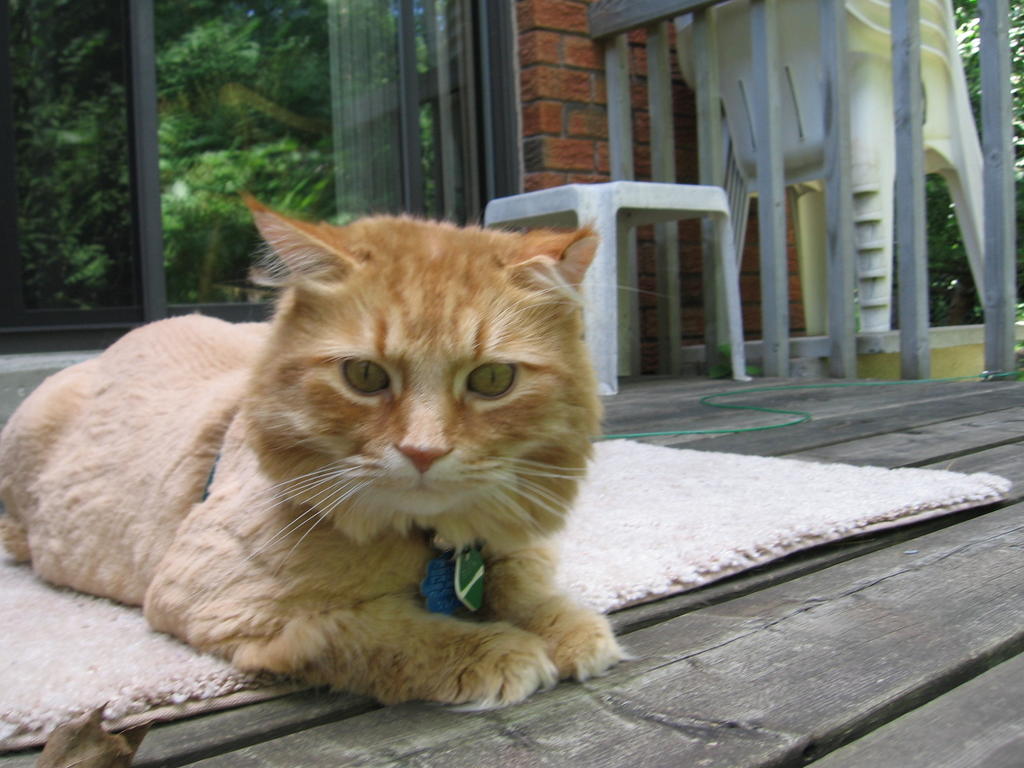
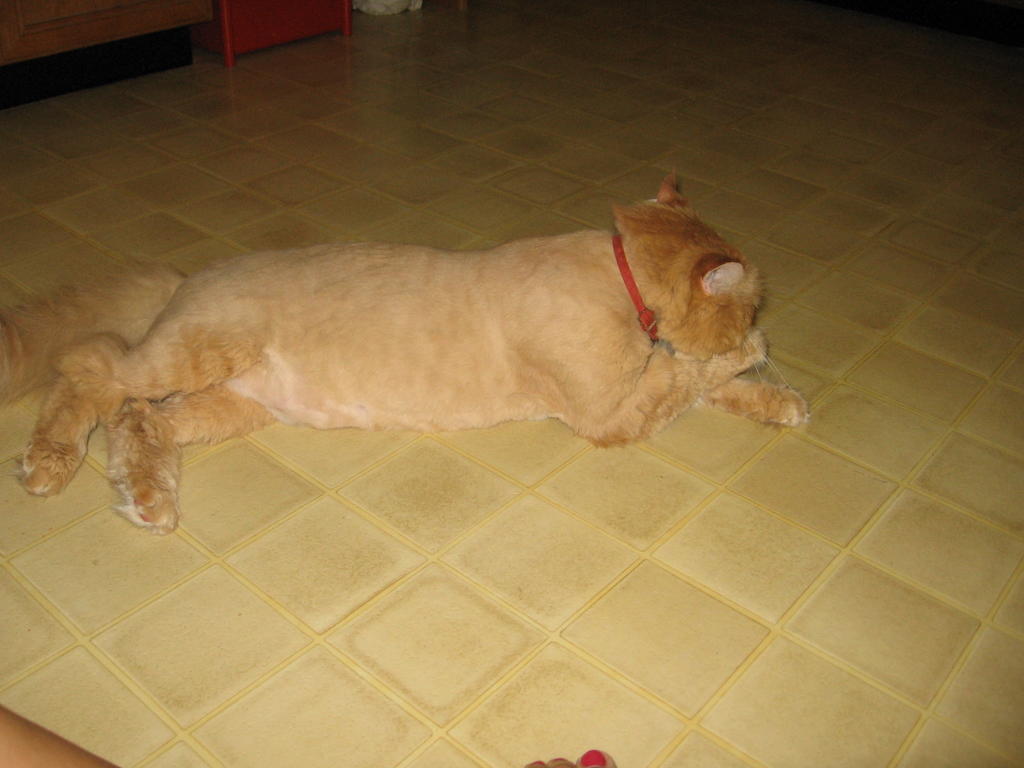
Hot summer months, moving to California, and my evil nature caused me to get Kiki's fur cut off. Here he is saying "don't look at me!". Man, I laughed. And then I laughed some more. There was also some uncontrollable giggling. He's nowhere near as big as I previously thought thought, wow, he must've lost pounds!

"Oh fine, I'm cooler this way anyway"


Sunday, July 17, 2005

Ain't no tribute band like a GNR tribute band

Randomness in Barrie keeps on getting better and better! What happiness should we stumble upon last night but Guns n F*in Rosez - "North America's Best GNR Tribute Band". So good in fact, that they even had a snake. They were actually very very good - "Ax" had the Axl squeal down pat, and besides that he looked 80, that "War" (Slash) had a wicked awful mullet, and one dude wore a white woman face mask and a chicken bucket on his head - the show totally rocked. I'd even see them again - especially at the low low price of $5! Worth every penny I tell ya!

ahhh, GNR


November Rain


An appropriate costume change for this song. Man was he ever into it!

Big snake


Nothing caps a show like a great big snake on stage. I mean really, does it get any better?

Saturday, July 16, 2005

Russian Pirate at Rib Fest?


Aside from meat, there were other gems at the rib fest last night - the best of which was the Russian pirate captain selling dollar store quality dolls and t shirts from his boat moored in the harbor. Of course he had a cat on his boat. He says "yar" to his cat, while his cat watches ducks and is secretly embarrassed for the captain who is unsuccessful in his t shirt and doll selling business.

Rib Fest!


Becky and I hit up Rib Fest last night in Barrie. There was a lot of tasty "meat" as well as tasty meat. Mmmmmm meaty... Funny, no pictures of us... We were too busy looking elsewhere I guess!

many many meat stands... how to choose?


there was sweet corn


and kettle corn too!

SWEET CORN!


this woman is enjoying her corn

ribs all gone


delicious!

where is everyone?


After devouring ribs, pulled pork, corn and ice cream - we felt the urge to go and see the new Charlie and the Chocolate Factory. Even though it was the premiere night, the theatre was TOTALLY empty! Not a soul in sight - even 5 minutes after the show was supposed to start! Incredible! Was Barrie THAT dead? Why wouldn't they play the movie for just the two of us? Why did no one want to see such hilarity and bizarreness? What was going on?

There was a reason why the theatre was so empty...


As it turns out... we might have been in the wrong one...

Sunday, July 10, 2005

Making Shoes

Last week I took the awesomest class ever with Sarah Rotering, shoemaker (or cordwainer if you feel like using a term that no one else has heard of). It was fantastic! Sarah is a fabulous teacher, the course was worth every penny - and I even commuted from Barrie to Toronto for it every day (yuck).
We made everything from start to finish, gluing, hammering, designing our way from bits of leather to complete actual custom-fit wearable shoes. What a fantastic experience!!!

If anyone is interested, please find her website here: www.roteringshoes.com

Below are photos of the process, including the final end product!!!

The beginnings...


Having taped the last (shoe form) completely, we then begin drawing out our shoe design directly onto the form. This is great, because you can really visualize how the shoe will look in 3D. Once it's drawn, we'll cut it off the last with the scalpel and mash it onto paper, refine edges, and then have a pattern to use for cutting the leather.

Drawing patterns


Having settled on a design, we cut a variety of shapes out of paper - they will later be traced onto leather - here is an insole, sock liner, last bottom, and shoe design drawn onto the taped last.

Soles


Securing the thick sole leather to the last with two nails... It's heavily spritzed with water in order to make it pliable, and in case you're wondering how it conforms to the shape of the last with only two nails, rest assured it gets strapped on very tightly with lengths of elastic. Rather like a combination of wrapping a sprained ankle and tightening a tourniquet.

Patterns...


My mule design pattern traced out onto the leather and ready to be cut with a scalpel. Scalpels are pretty fun to operate. Ha ha.... operate... get it? Yeah, I won't be a doctor any time soon. Jokes like that are really only fit for dorky geologists.

Uppers


Having cut it all out and pieced it together, the outside edges of the uppers get glued and tucked under in order to have a neat and clean edge.

Sewing the lining to the uppers


Using a beautiful vintage sewing machine, here I've "carefully" sewed my lining to my leather upper to turn a funny looking pattern cut-out into something that beings to resemble the upper part of a mule. Sort-of.

Attaching leather to the last


Here we very carefully center the leather over the last and hammer down the liner edge to secure it in place. Later - once the shoe is complete - the liner that sticks out there is cut off. More carefully than I did it hopefully...

Pre-lasting


This step is a little tough, here we stretch the (moistened) leather evenly all around the last and hammer it down securely with nails in order to imprint the leather with the final shoe shape that it will have after it's properly lasted.

Lasting


Once the shank is attached, we begin turning the leather into actual shoe-like substance. This involves gluing the leather liner down to the lastbottom, then trimming the bumps and putting in the toe puffs, then gluing down the leather upper, etc. Here, I've just finished trimming up the liner (post gluing).

Toe stiffener


They're actually called "toe puffs", which reminds me of "sugar puffs", which they are most definitely NOT - point is, this material "selastin" you soak in alcohol and it gets all pliable, then you glue it onto the toes of your shoes, and it hardens and maintain the shape of the shoe. Very neat. Extremely stinky.

Prepping heels


The pre-made heels have to be sanded and covered with leather in order to not look like ugly pre-made heels. I contemplated the "organic" look of leaving the heels like this.

Cork


Once the leather is fully attached to the last, there's a big ugly un-evenness left behind on the bottom. This gets filled with cork - as seen here.

Heels


If you're going to design your own shoes, surely the only way to go is ALL the way. Naturally that meant that I would make one heel of brown and one of the steely-blue grey colour. Here I've just finished wrapping the leather around the sanded and then glued heels. Next I'll have to glue down and trim the edges at the top and bottom before they can be attached to the shoe.

Outsoles


Made out of the same stiff leather as the soles, the outsoles are glued and hammered onto the cork-filled last bottoms (cork has now been trimmed of course).

Making insoles


Since I managed to pick the leather with the least amount of quantity - I had to make up patchwork insoles. The happy result being that they look extra cool this way.

Installing the heels


Clamping on the glued heels - once these dry we'll screw them in tight. This is all about quality! Made in China, take THAT!

almost there...


Gluing in the insole - final step!!!

My finished shoes


Hard to believe I made these - unless you know me, and then it's not a surprise at all...